Dirt Work to Finished Sod Along a Driveway Edge
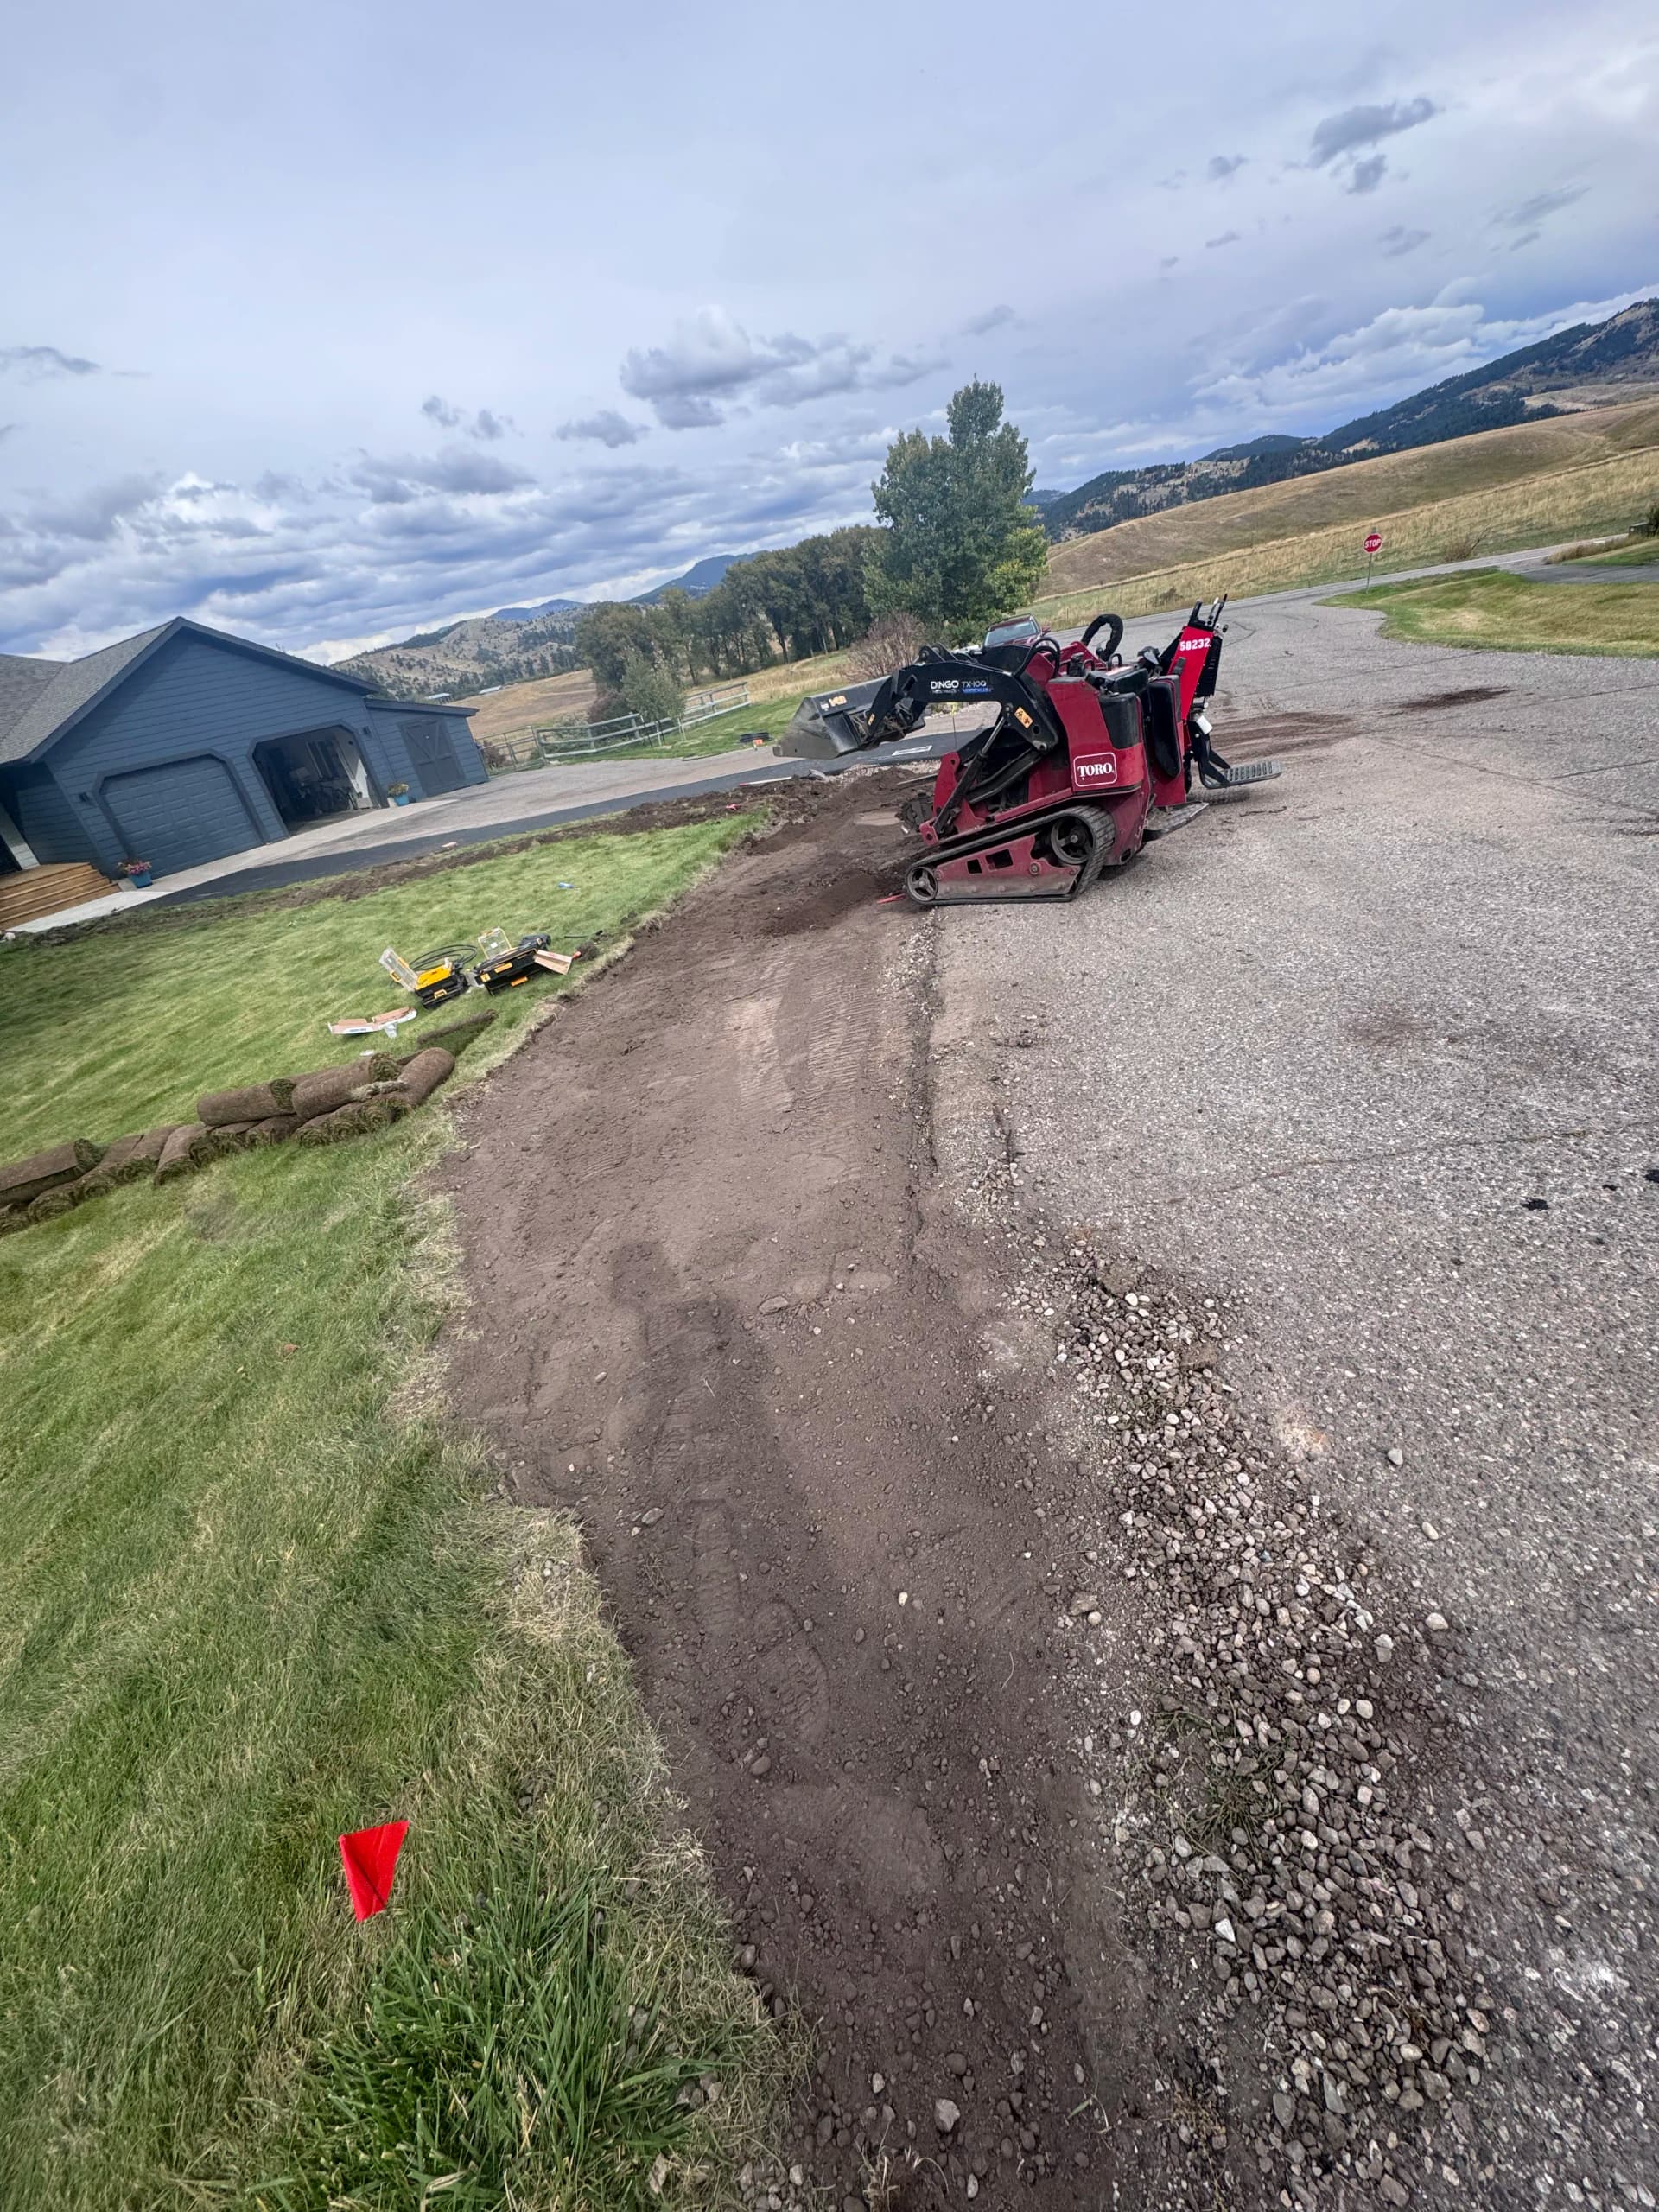
Some jobs are more than just laying sod. This one required us to work through the whole sequence - dirt work, topsoil, irrigation, and then sod - to get the area right. When you skip steps, it shows. When you do it correctly, the result holds up.
Here's what we were working with: a strip of bare, disturbed ground running along a driveway edge that had been torn up and left unfinished. The area needed proper grading, fresh topsoil to give the sod something to root into, and irrigation so the grass would actually survive long-term. Just throwing sod down on top of poor soil and hoping for the best wasn't an option.
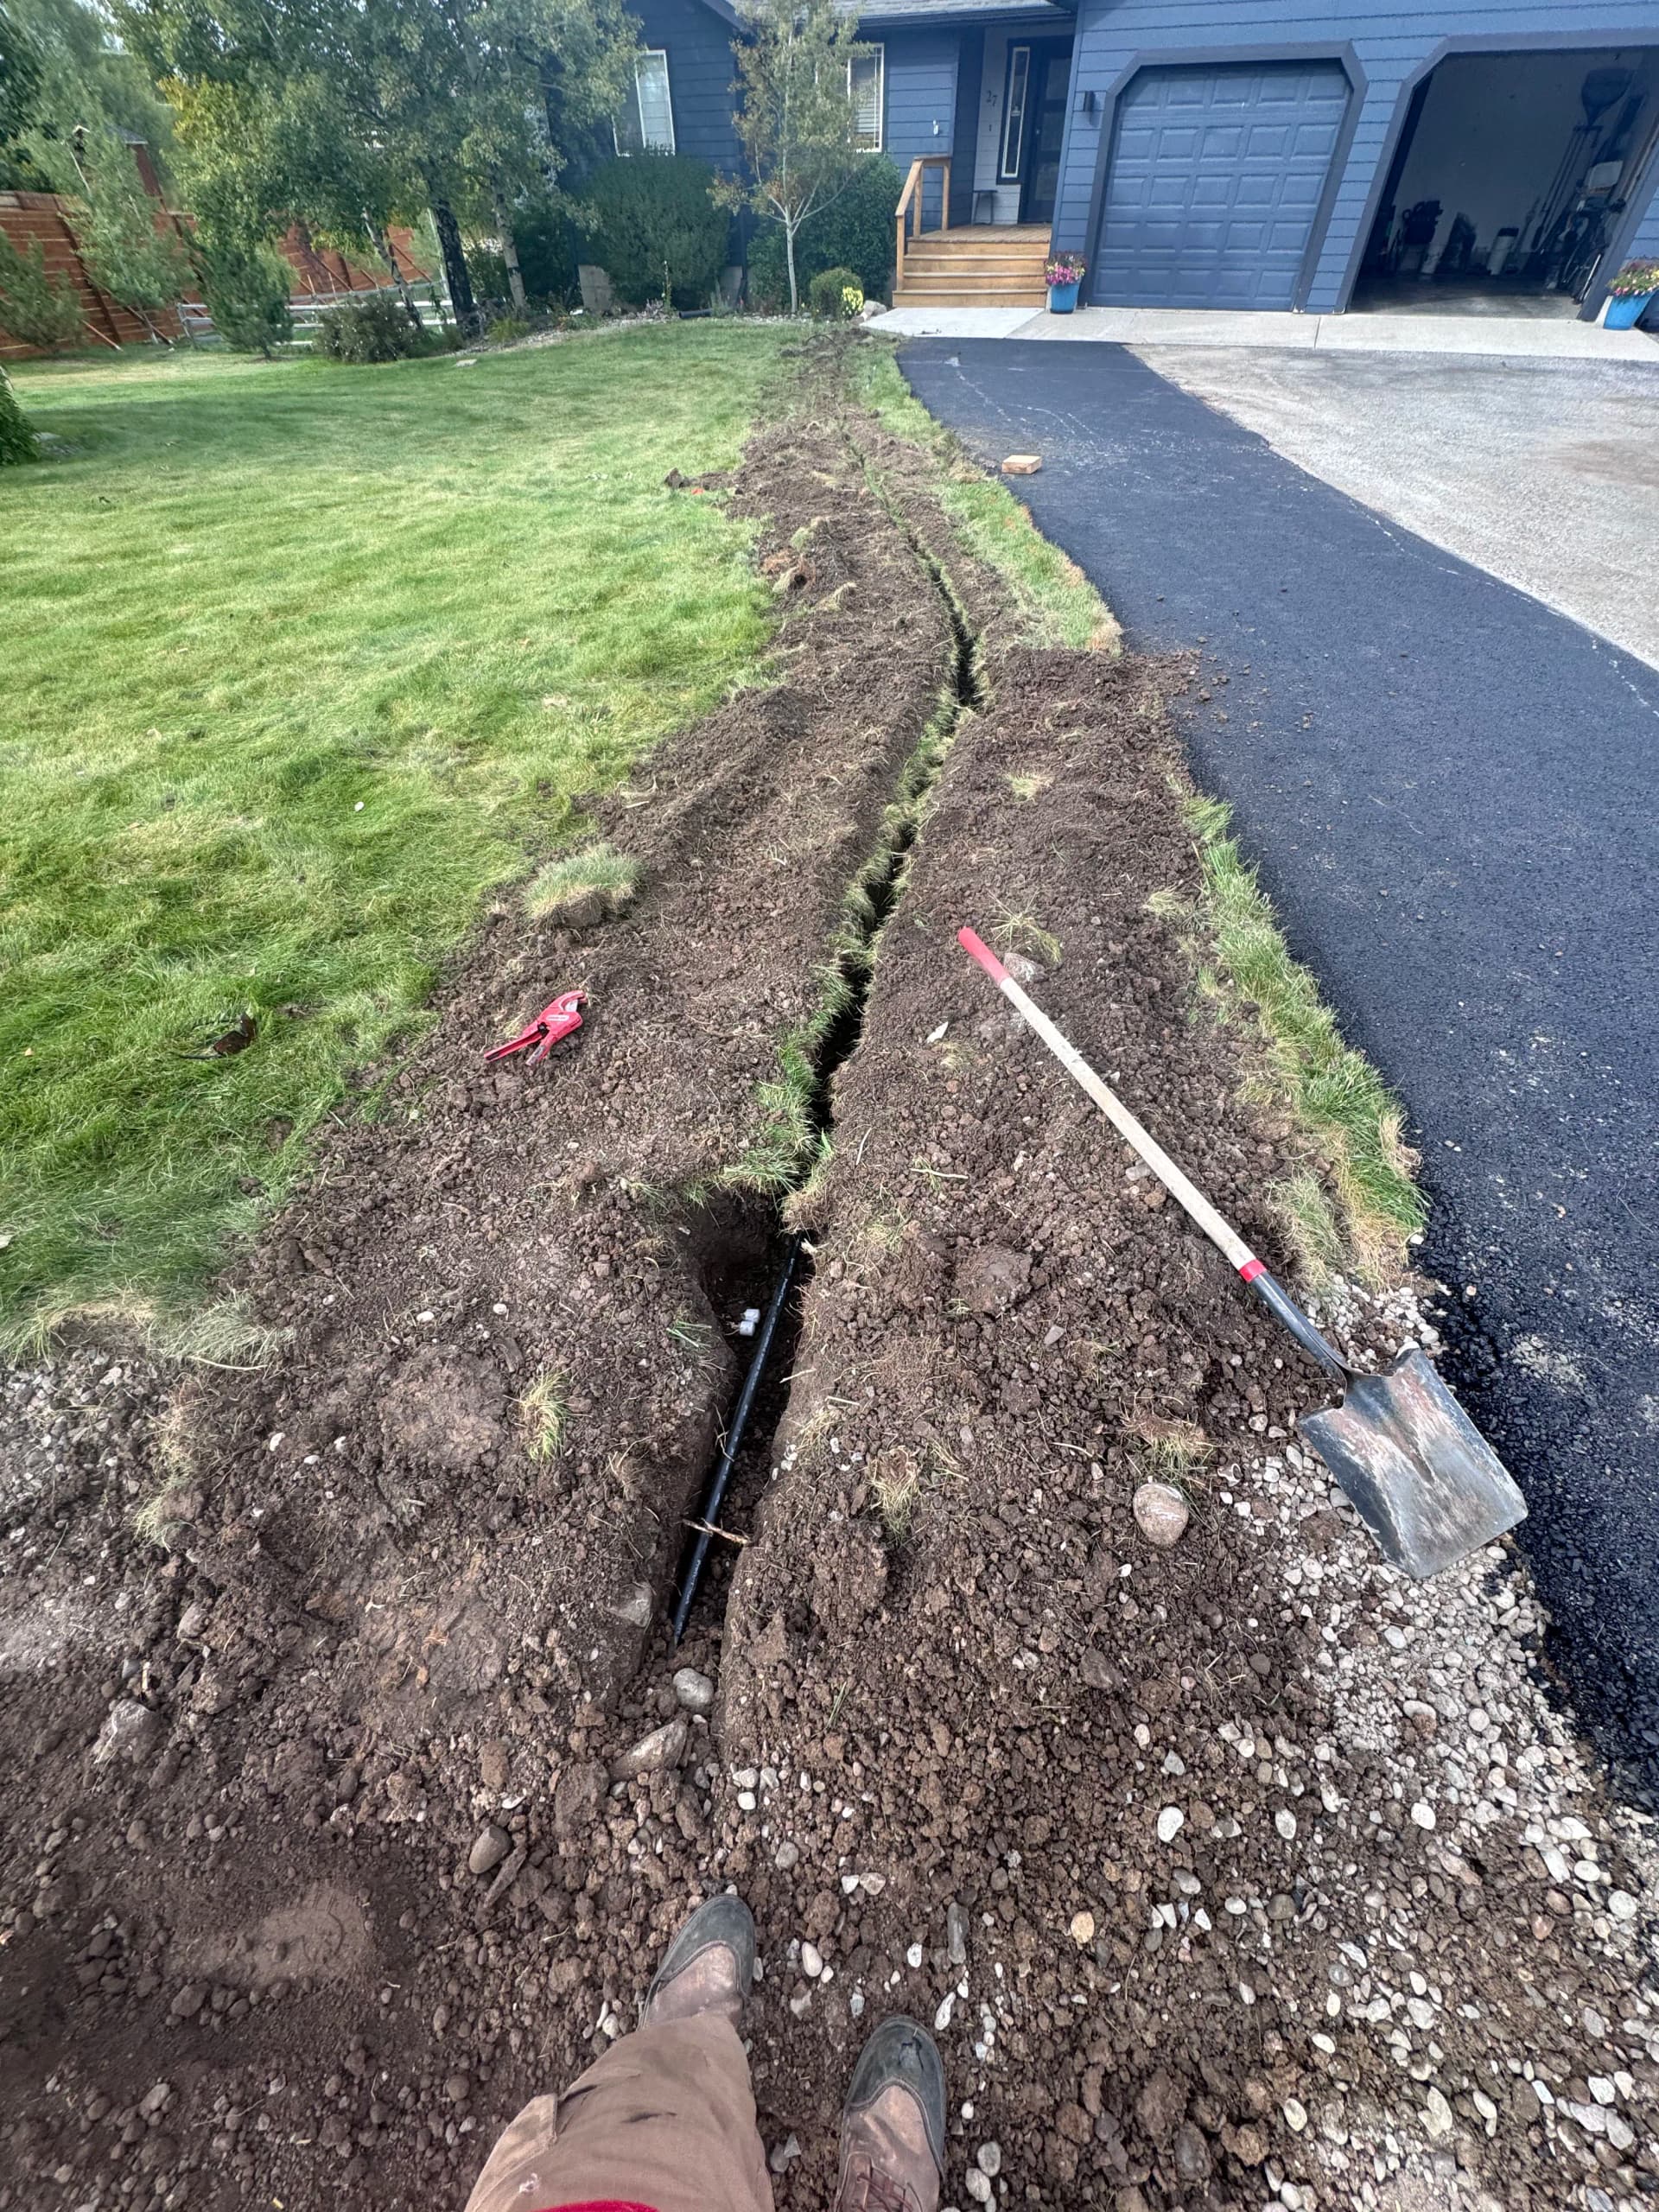
We ran the irrigation line through first, then brought in topsoil and prepped the bed before any sod touched the ground. That order matters. Sod laid over compacted, dry, rocky soil doesn't root well - it just struggles and eventually dies. Getting the base right is what separates a lawn that lasts from one you're fixing again next season.
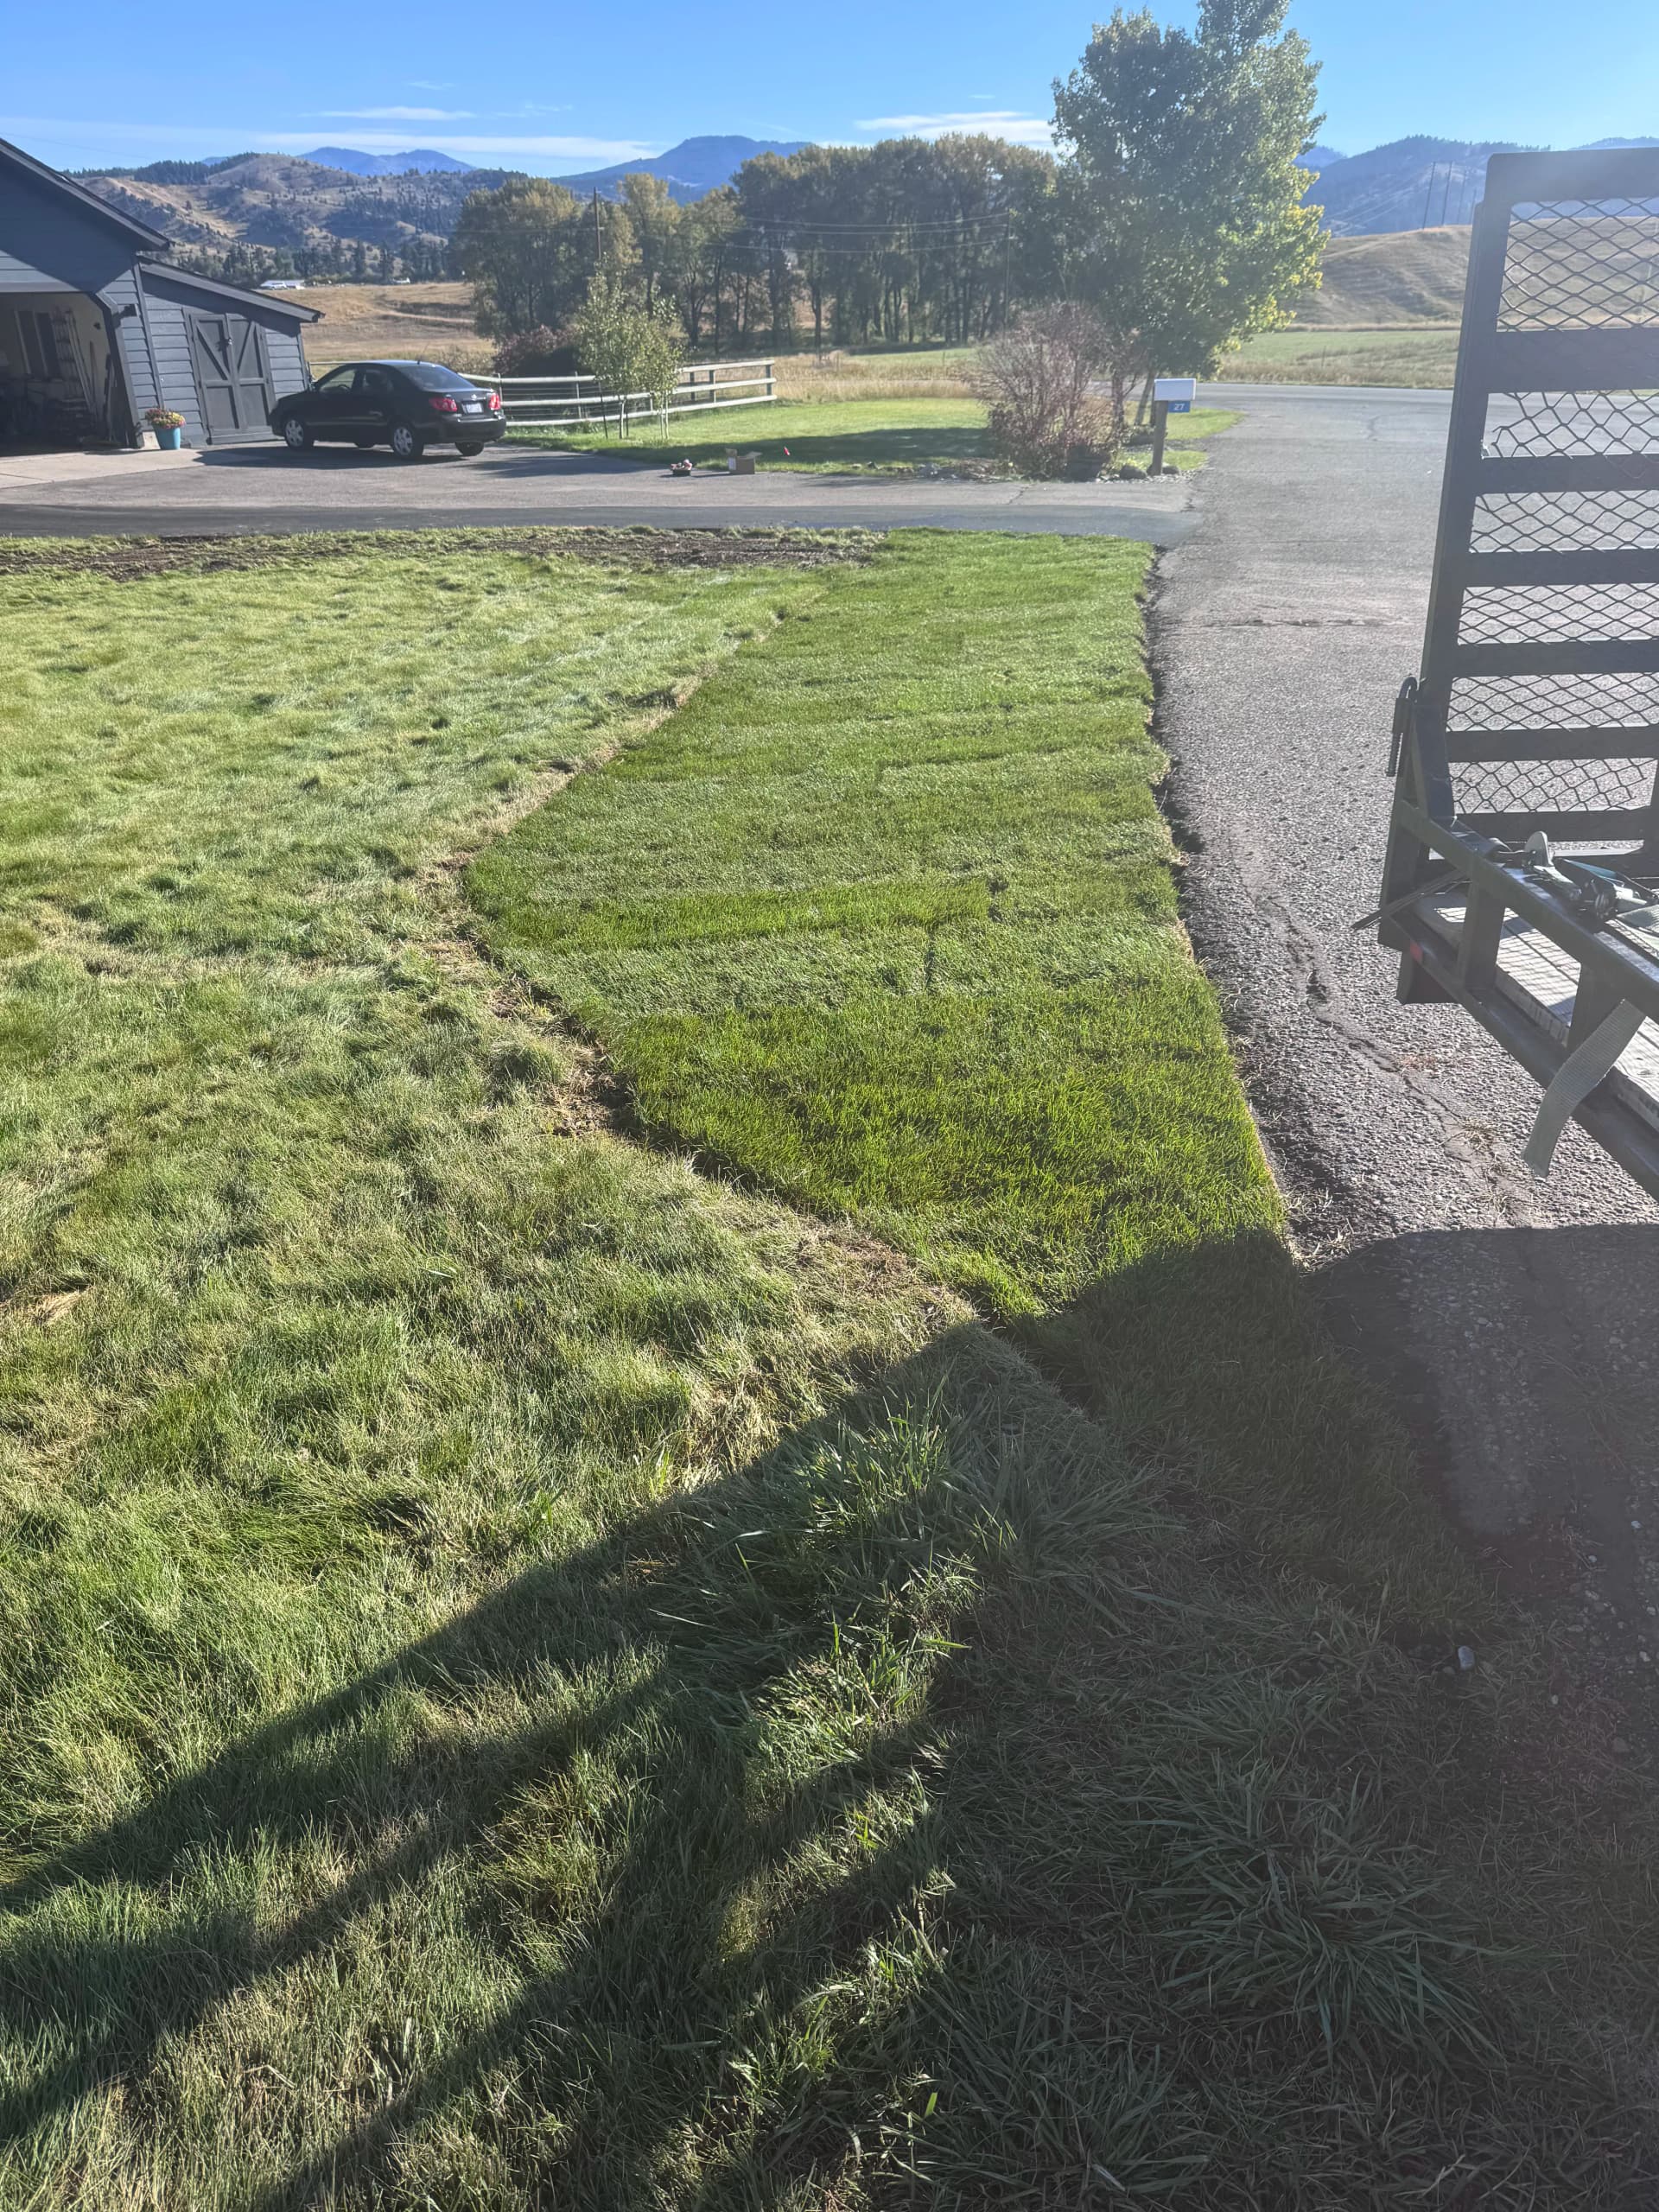
Once the prep work was done, the sod went down tight against the driveway edge and blended cleanly into the existing lawn. The new grass sits flush, the edges are clean, and the irrigation is already doing its job underneath. It went from an eyesore to a finished yard - and it's built to stay that way.
The details really do make the difference on jobs like this. It's easy to cut corners on prep work because nobody sees it. But that's exactly where the job either succeeds or fails. We'd rather do it right once than have a homeowner dealing with dead patches a few months down the road.